React Native: Building the "Shoes" App
Overview
I was recently experimenting building a react native app. After digging a bit deeper into hybrid development, I have got attracted to the concept of producing a native code, in contrast to the web view approach in most of hybrid apps.
So here's what we've got. Setting it up:
If you go to https://facebook.github.io/react-native/docs/getting-started.html you'll get some instructions how to set it up.
Android installation
- Install JDK
- Install Android SDK
- Adding android SDK path to the ~/.bashrc
- export ANDROID_HOME=/usr/local/opt/android-sdk
JDK can be installed using this link:
http://www.oracle.com/technetwork/java/javase/downloads/index-jsp-138363.html
Android SDK can be installed using:
brew install android-sdk
After finishing these 3 steps, we would need to install some android packages.
Open Android package manager:
android
These packages will be required to run the android simulator:
- Android SDK Build-tools version 23.0.1
- Android 6.0 (API 23)
- Android Support Repository
- Intel x86 Atom System Image (for Android 5.1.1 - API 22)
- Intel x86 Emulator Accelerator (HAXM installer)
You would also require to download IntelHAXM.dmg file, which you can do from:
https://software.intel.com/en-us/android/articles/intel-hardware-accelerated-execution-manager
Run the installation file after download dmg.
- Install IntelHAXM.dmg
/extras/intel/Hardware_Accelerated_Execution_Manager/IntelHAXM.dmg is /usr/local/opt/android-sdk on OS X
- To check that configuration is done correctly
- kextstat | grep intel
- You should see message
- com.intel.kext.intelhaxm
At this point we would like to create an android virtual device (AVD):
# launching avd manager
android avd
Click "Create" and choose the following options for your AVD:
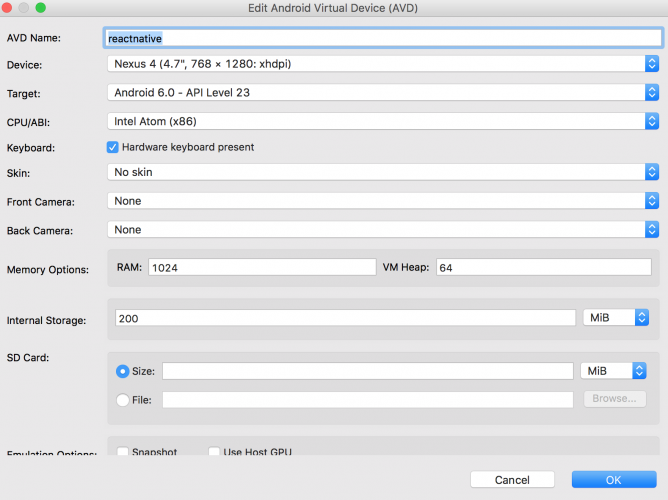
Now your AVD is created and you can start your emulator using:
emulator -avd# in our example: emulator -avd reactnative
iOS installation
iOS emulator will be installed automatically as part of Xcode installation. You can install Xcode from the the app store and choose the particular emulator to start from within Xcode.
Installation
Before proceeding let's make sure that we have the following tools in place:
- brew
- android
- node
- watchman (brew install watchman)
Check out the installation post for more information about how to install these tools.
# install the react native cli
npm install -g react-native-cli
Run this script to create your first app (our app is called "Shoes"):
react-native init Shoes
At any point throughout this tutorial, you can run your app using these commands:
# run your app on iOS react-native run-iosrun your app on Android
react-native run-android
It's time for fun now, let's start coding to build our beautiful shoe app !
The "Shoes" App
Everything is in place now, time to start the work!
Let's navigate to the directory where we initialized the shoe app:
cd Shoesdirectory listing
ls -F
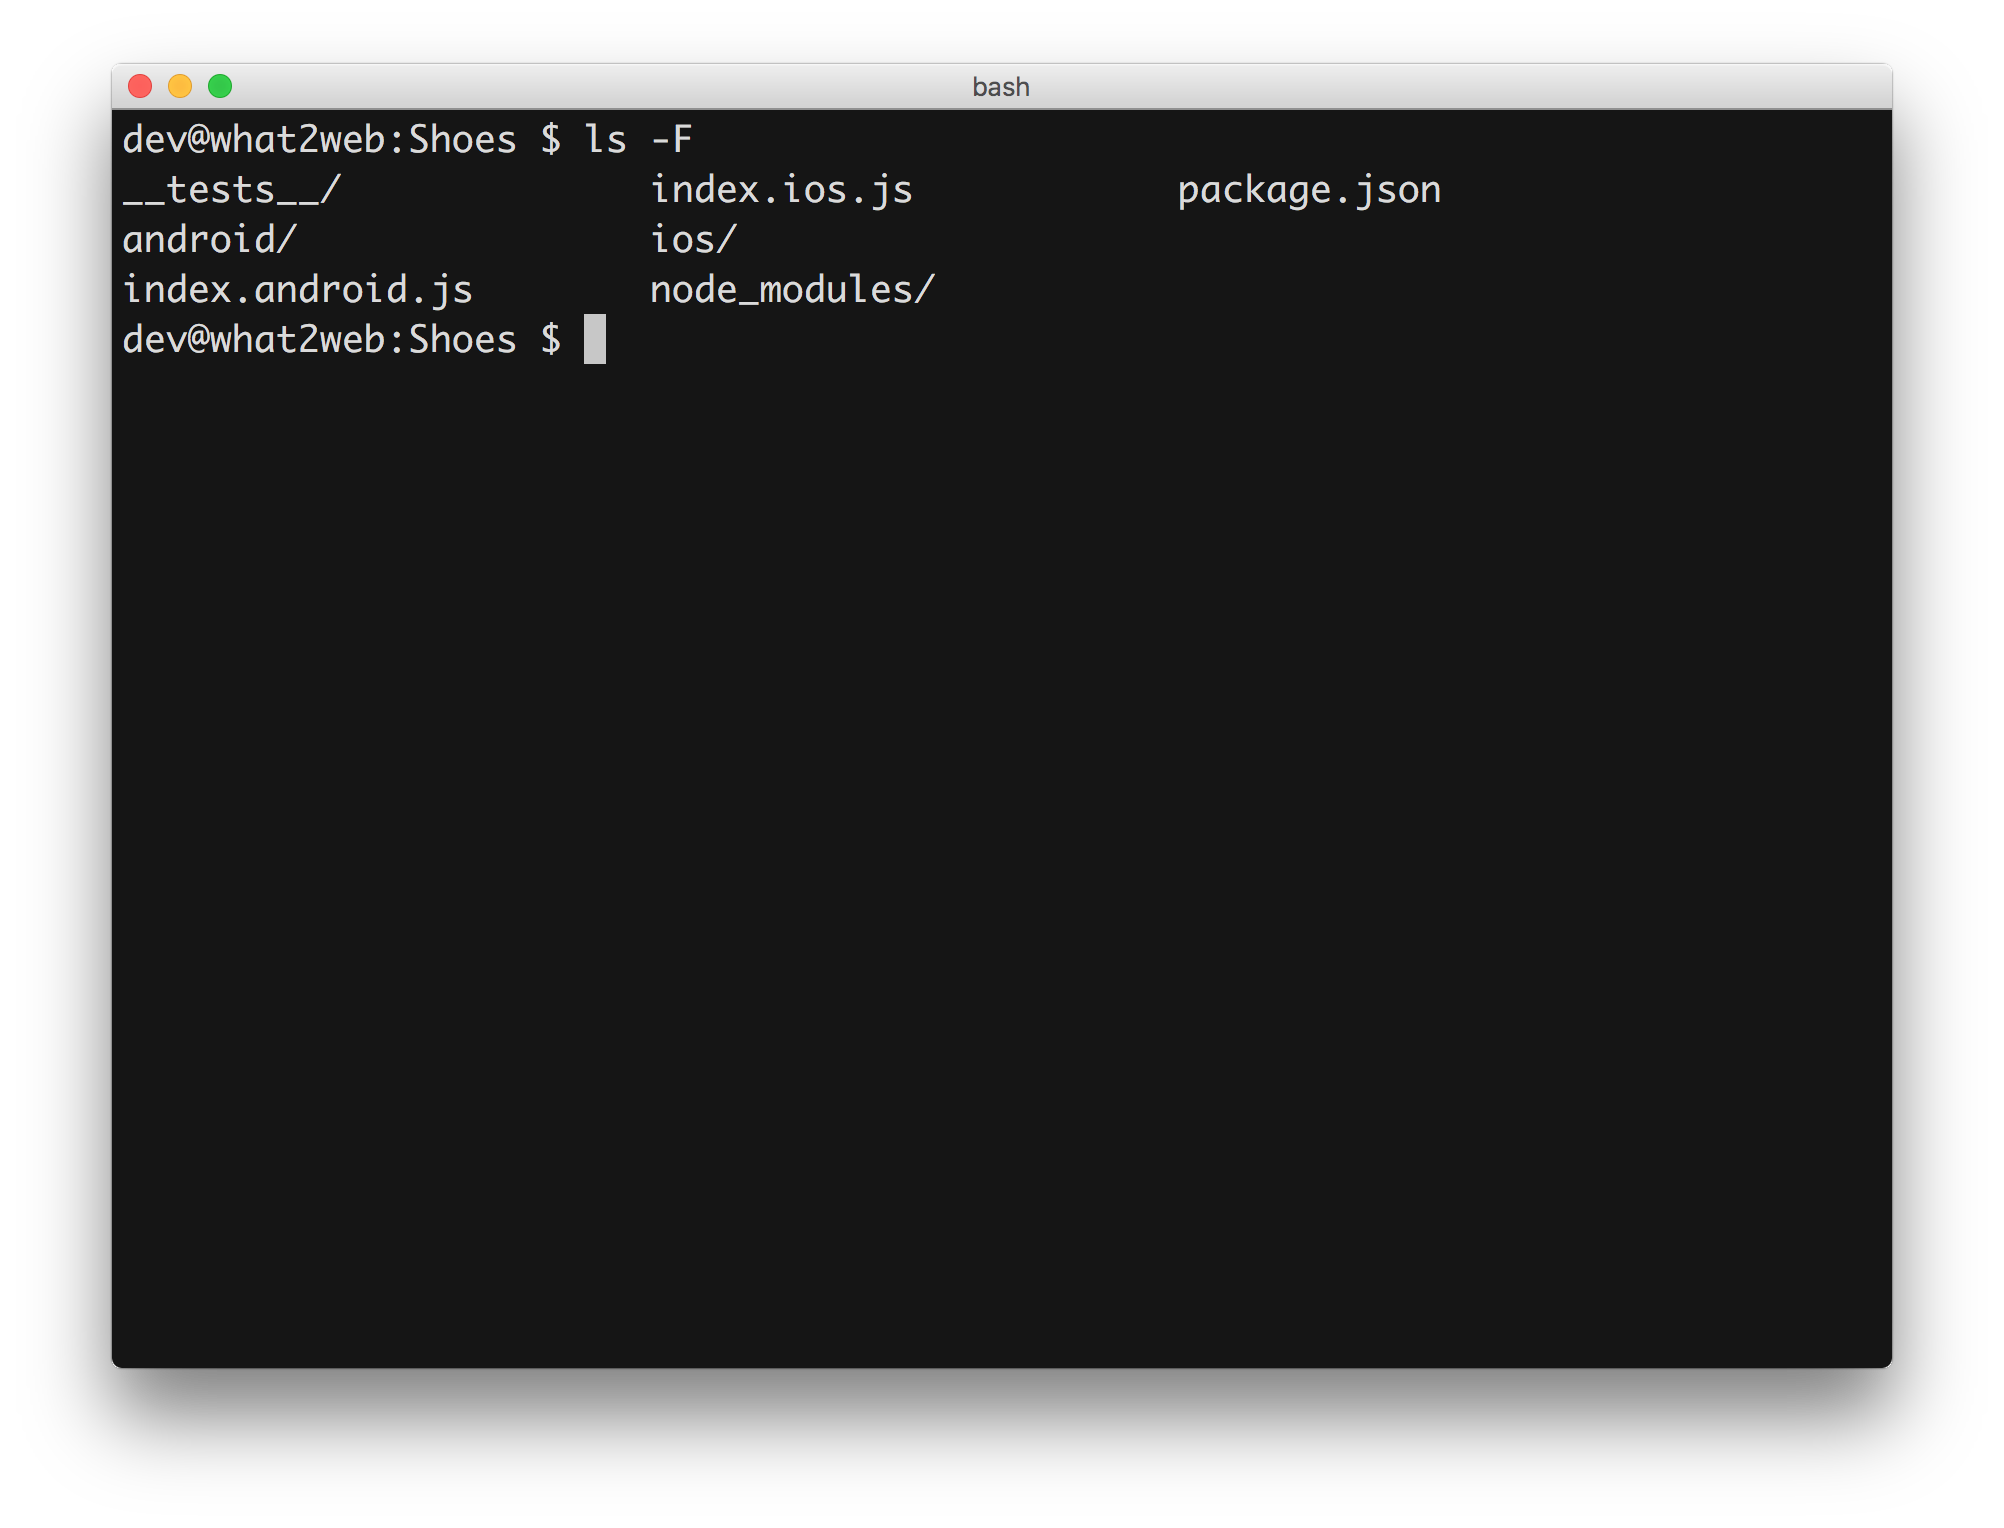
We have got several files here. T0 give possibility to distinguish the code based on the version used, we have 2 entry scripts: index.ios.js and index.android.js which will be parsed and executed based on the corresponding app platform.
This is how the default index.ios.js script would look like:
/** * Sample React Native App * https://github.com/facebook/react-native * @flow */import React, { Component } from ‘react’; import { AppRegistry, StyleSheet, Text, View } from ‘react-native’;
export default class Shoes extends Component { render() { return (
); } } Welcome to React Native! To get started, edit index.ios.js Press Cmd+R to reload,{'\n’} Cmd+D or shake for dev menu const styles = StyleSheet.create({ container: { flex: 1, justifyContent: ‘center’, alignItems: ‘center’, backgroundColor: ‘#F5FCFF’, }, welcome: { fontSize: 20, textAlign: ‘center’, margin: 10, }, instructions: { textAlign: ‘center’, color: ‘#333333’, marginBottom: 5, }, });
AppRegistry.registerComponent(‘Shoes’, () => Shoes);
We can notice here that our script consists from several sections.
In the top we are importing couple of components which will be needed to run the script. Some components are imported from react, while others from react native modules.
- AppRegistry
will be used at the end of the file to register the entry script - StyleSheet
We are able to define the stylesheet rules by using StyleSheet.create() and passing object of styles as argument - View
This components acts like container to our app - Text
Label components, accepts styling
You will notice also that the default class has render() function which is supposed to return the objects to be parsed and rendered in the native app.
Notation used in return statement of render function() is called JSX - a Javascript syntax extension which make it look like XML. Of course you don't have to write using JSX and can use a plain javascript, however JSX will be much more comfortable.
You can read more about JSX here:
https://facebook.github.io/react/docs/jsx-in-depth.html
As mentioned in the previous section, we will use the following command to run our code as we developer:
react-native run ios
Building the Home Page
We will start by creating a folder called src in our project root.
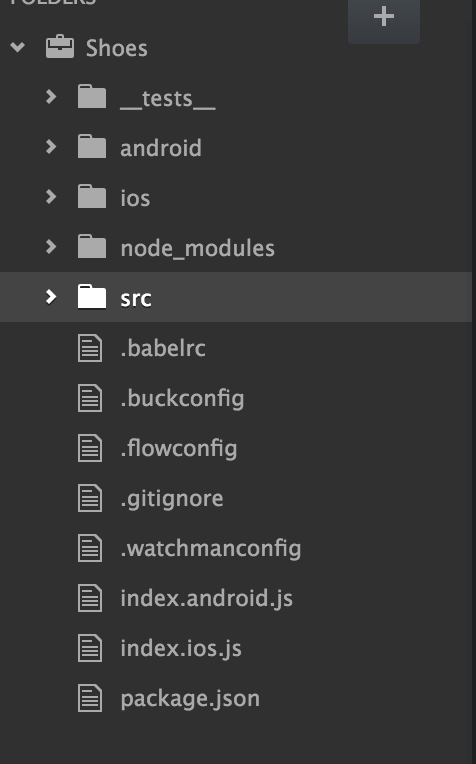
Within the src/ folder we will place our Home page script called home.js. In addition, let's create a file called shoes.js which will be our root components which can be used both within index.ios.js and index.android.js. This is what I expected to have at this point:
src/
|__ src/shoes.js
|__ src/home.js
Let's start working on our beautiful home page. At this point I would like to achieve a blank page with some text in the middle, let's say "Hello world!". This won't be a great achievement in comparison to what was already generated in index.ios.js, however it will give as an ideas about how to better organize the code and wrap the default components into more complex reusable components.
This is how my home.js file would look like at this point:

In the shoes.js file we would like to refer to import home.js file and import it:
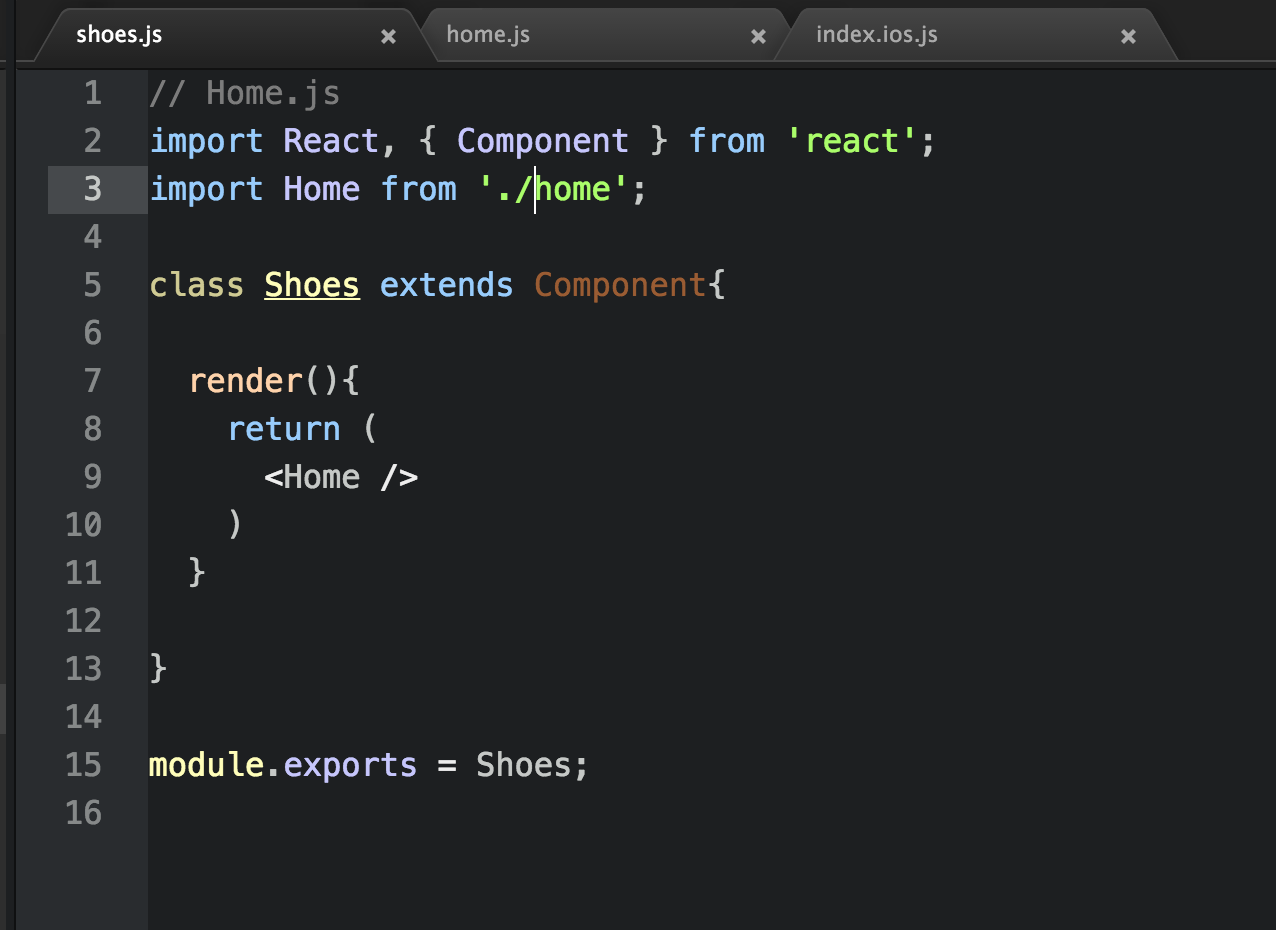
At this point we have got the Shoes components ready and it's using the Home component. Placing

Now, try to run using:
react-native run-ios
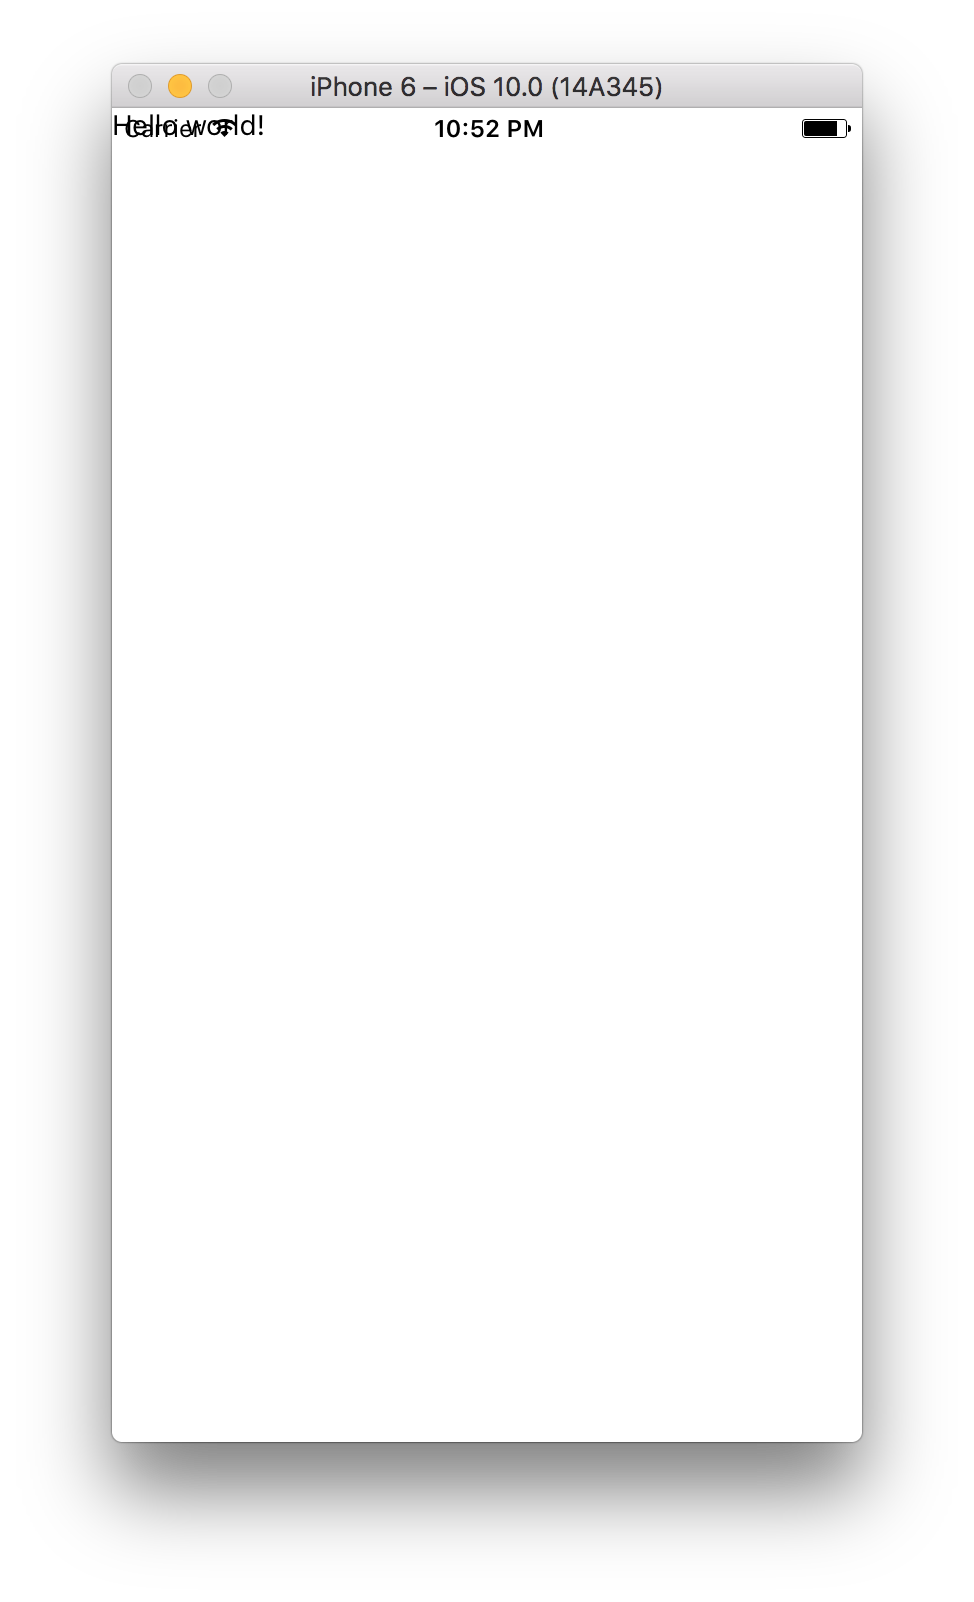
Great ! First step accomplished, we got something working!